Adding a block to certain tables
How to block out certain tables.
You now have the ability to block off one or more tables at the same time, even if they are in different areas.
You will find this feature in the live console and then clicking into the grid. Click next to one of the tables you want to block out:
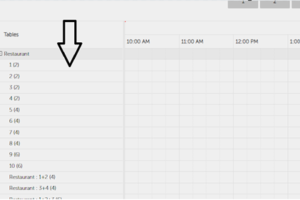
The following pop will then appear:
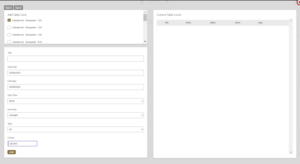
If you can’t see the whole box you may need to make your screen a bit smaller.
We have two types of blocks:
TYPE 1 – this will block out from X date and time to Y date and time. EG, from 10am on 10/6/2024 all the way through to 5pm 15/6/2024
TYPE 2 – this allows you to block out tables for specific times of the day on specific days of the week, repeatedly. EG, table 2 is unavailable every Tuesday between 7-9pm due to the weekly quiz.
To add a TYPE 1 block:
- Go into the live console and click into the GRID
- Click the table in the grid which you want to block out and click TYPE 1.
- Select the tables you want to block out.
- Enter the title, this is what displays on the grid.
- Enter the start date and the end date.
- Enter the start time (for the start date) and the end time (for the end date).
- Select the type:
- All – stops anyone booking the table(s).
- Venue – stops only the venue booking these tables.
- Customer – stops only the customer booking these tables.
- You can select the colour that is displayed on the grid.
- Once you have added the lock, you will see it display on the right hand side. If you need to amend it, click the EDIT button and amend as necessary.
To add a TYPE 2 block:
- Click the table in the grid and click TYPE 2.
- Select the tables you want to block out.
- Enter the title, this is what displays on the grid.
- Enter the start date and the end date.
- You can then select either ALL TIMES or DEFINED TIMES
- ALL TIMES – the whole duration of the dates you have chosen
- DEFINED TIMES – specific days/times of the dates selected
- Select the type:
- All – stops anyone booking the table(s).
- Venue – stops only the venue booking these tables.
- Customer – stops only the customer booking these tables.
- You can select the colour that is displayed on the grid.
- Once you have added the lock, you will see it display on the right hand side. If you need to amend it, click the EDIT button and amend as necessary.